There’s no need to shell out for an expensive scratching post for your cat. Read on to find out how to make some DIY cat scratching devices you may just have all the makings lying around at home anyway! Whichever you decide to go with, there are a few ways to make sure your cat will use it.
Firstly, observe your cat’s scratching behaviours before you decide to make either a horizontal or a vertical post. The second way to make the best possible cat scratching device is to make sure it is tall/long enough for your cat, as many on the market are much too short. For optimum comfort, your cat needs to be able to fully stretch out when they use it. Measure your cat from nose to tail as a guide, and make sure your post is at least this length. Don’t forget to add some space for growing kittens!
The DIY tree log
These scratching posts look great, and require minimal effort. Make sure you go for a hardwood variety with the bark intact when choosing your tree stump.
You’ll need:
- 1 x tree log at least 7 centimetres in diameter and around 90 centimetres in length.
- Some scrap wood. The scrap wood will form the base make sure it is nontoxic and unfinished.
- Carpet to cover the base. This is so your cat can use this scratcher horizontally as well.
- A pencil.
- A staple gun or strong doublesided tape.
- 2 x 3inch (7.62cm) wood screws.
- A straight edge.
- An electric drill/screw driver with bits and driver heads.
- A saw.
- Sand paper.
- Eye and ear protection.
How to:
In nature, cats scratch on trees to stretch their bodies and maintain their claws. If left without a similar outlet in your home, you may have noticed your cat replicating this behaviour on your furniture or drapes.
The DIY sisal board
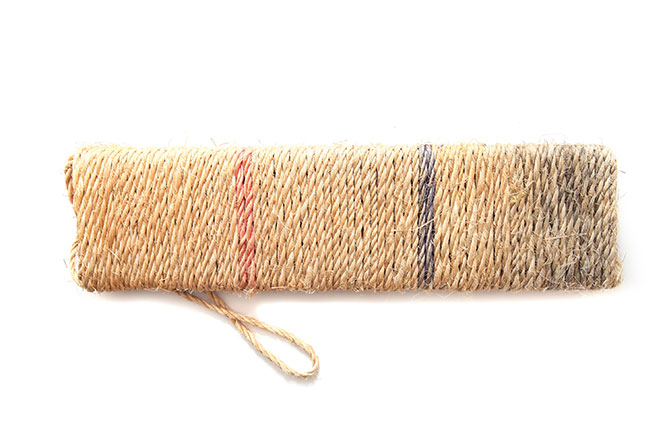
This is the easiest option. You can either prop it against a wall, or it works well hung from a doorknob.
You’ll need:
- A board. Ideal dimensions are around 90cm x 15cm x 1.5cm in thickness.
- Enough sisal rope or carpet and fabric to cover the board.
- Rope to attach scratching post to your doorknob (leave out this step if your cat likes to scratch horizontally).
- A staple gun.
- Catnip (to entice the cat to the board).
How to:
- Cover your post. You can either do this with the carpet, with a fabric covering. Alternatively you can wrap it in sisal rope, which gives great claw traction.
- Attach the handle with the staple gun.
- Rub the board in catnip.
- Place it near your cat’s favourite place to scratch.
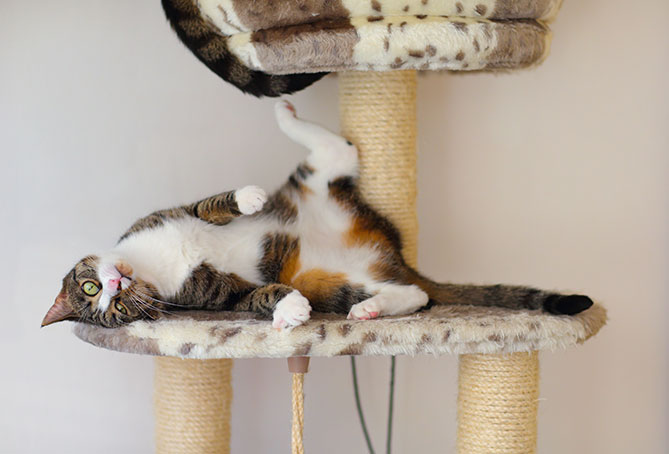
The DIY natural scratch post
This is a great idea, especially if you’re doing a bit of home renovations and have some discarded wood lying around!
What You’ll Need
- Tree log. We recommend using a hardwood like Oak, Maple or Redwood with the bark intact. The log should be at least 2 inches in diameter and around 3 feet in length.
- Scrap wood for the base. Try ¾inch plywood at least 40m square. Just make sure it’s nontoxic and unfinished.
- A carpet square or remnant that’s at least 16 inches square. You can get either from a home improvement or flooring store.
- A pencil.
- A staple gun or strong doublesided tape.
- Two (2) 3inch wood screws.
- A straight edge.
- An electric drill/screwdriver with bits and driver heads.
- A saw.
- Sand paper.
- Eye and ear protection.
How to Make It:
- Measure the log so it’s a good length for your cat.
- Use the saw to make a straight end for the log. This will ensure it is solid when standing up.
- Cut the base to your desired dimension, and sand any rough edges.
- Use the straight edge and pencil to draw lines from corner to corner on the plywood.
- Mark the screw locations that mark the diameter of your log. Leave some room between the screw and where the outer edge of the log will go
- Drill pilot holes for the screws where you have just marked.
- Cut lengths of double sided tape to go along the outer edge of the base and running towards the centre (this is for securing the carpet down). Another option is to wrap your carpet remnant around the base and use the staple gun to secure it in place.
- Drive the two wood screws upwards from the base until they go through the pilot holes.
- Place the long on the base and secure it by driving in the screws.
- Now your scratcher is ready to go! You can also add furniture pads if your floor is sensitive to marks.
How to make your cat use their scratching post
Sometimes you have to point out just how great your new device is before your pussycat will get on board. But don’t worry there are strategies for making your new scratcher appealing. Essentially, you need to make your DIY cat scratching post alluring, and deter your kitty from using the former places they liked to scratch (like the couch!).
- Show your cat its new scratching post is amazing by making some noisy scratches on it yourself while they watch.
- If your cat is still scratching elsewhere, try using catdeterrent products like Feliway in these spots. You can also restrict the cat’s access to these areas, or cover them up temporarily until it falls in love with its new toy.
- Foil is another way to stop cats destroying doorframes, couches or carpet. Stick some over the mostscratched spots, and always encourage it to use the new post when you see it going back to its old scratching habits.
- Give your cat treats when you see it using the new post. Punishing your cat often just results in them reverting to their old scratching spots when you are not around however, rewarding their positive behaviour will always be more effective. Have a read of our blog post on 10 Fun Games To Play With Your Cat to find some ideas on positive play with your furry friend.
Inspired? Have a go today
A DIY cat scratching post is a great idea for a myriad of reasons. Not only will you save yourself some money by not buying a new one, but it is another way of interacting with your beloved cat and making sure he or she wants for nothing! And of course, a cat scratching pole, in whichever form you decide to build it, will save your sofa from the wrath of your kitty’s claws. So, the next weekend you have free, grab some of the materials listed above, and have a go at building your cat’s new favourite toy.


Leave A Comment